And then Nick stood back and wiped the sweat from his brow. He could feel the intensity in the workshop go up a notch, as the gravity of the situation had now settled in. For a second there may have been a wobble in his confidence, and a passing thought that he had done something unthinkable. But, after a swig of his brew, a smile started to appear and a cheeky wink to Cal confirmed it all.
Let’s bash on!
It’s one thing pulling the guts out of a car that doesn’t need to go back together, or that desperately needs it for repair. It’s another ball game when the car is a minter to start with. Naturally there was some hesitation in me to do this project. It drove so well as an R. It looked so well as an R. It worked so well as an R!
And here we were pulling its heart out and chopping its legs off!
All in the name of greatness
Sounds dramatic, and I know I’ve made it seem that way too. I wasn’t fazed though. I can look up at an empty cavernous engine bay and see potential. Either that or I’m just too stupid to realise what I’m doing at the time. Anyways where were we…?
With the car stripped it was a bare looking shell from the underside. It took little time to get here too, but there’s no doubt that we know these cars pretty well so therefore the strip down was almost a demonstration of our own efficiency. Quick and easy…
This was the perfect time to start building the car back up.
It started with the battery cable! The donor RS3, and a lot of other Audi car`s house their batteries in the boot area. This was necessary due to the sheer size of the DAZA engine. So the first job was securing that in place. No surprise that the Golf has most of the fixing holes needed for the battery cable clips to mount to, with just a few needing to be added. The cable then snakes behind the fuel tank and enters the boot area through a hole which needed to be cut, and then sealed up with stone chip and the factory RS3 grommet.
Tanking it
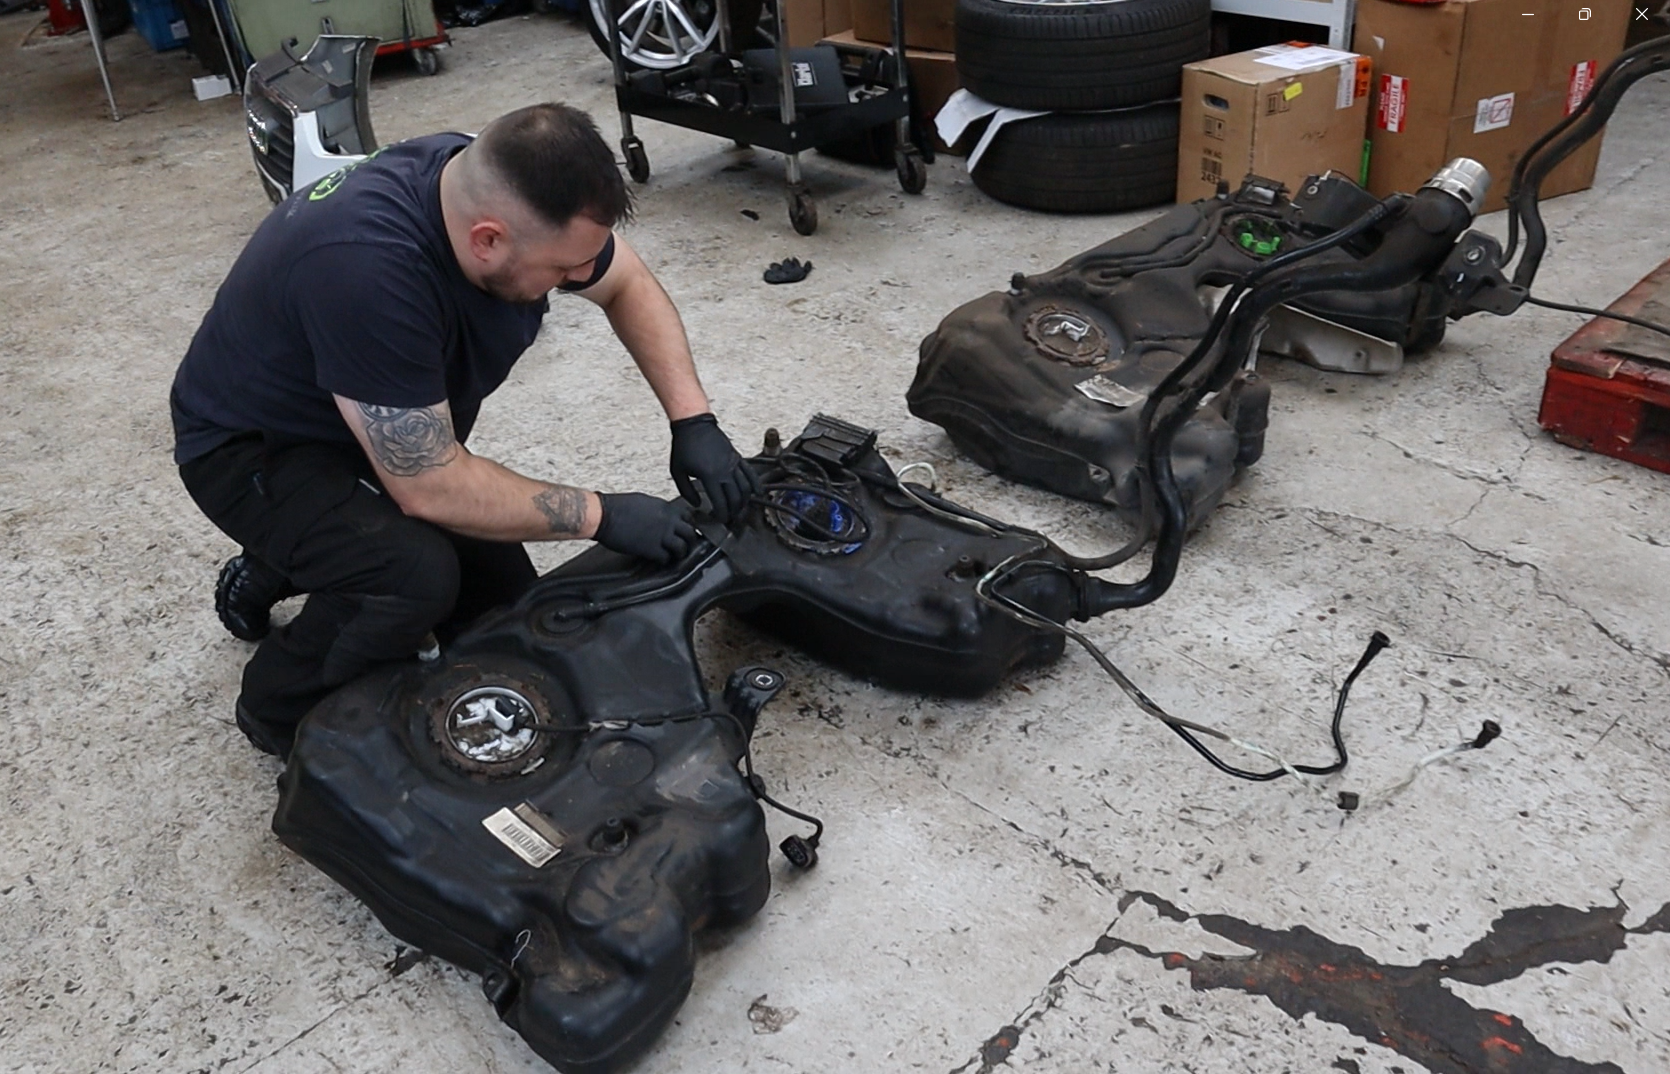
The fuel tank is identical on both the Golf R and the RS3. However the fuel pump assembly is different on the RS3 and I wanted to use this so we swapped in the full fuel tank, along with the fuel that was left in there from the donor. There was probably £20 of fuel in there, and you’ve got to enjoy the wins in life no matter how big or small they are.
The fuel pump wiring is very similar but on the RS3 it is located on the near side of the car, even though the fuel pump is on the offside. There is an extension loom which needed tucked out of the way. Simple stuff!
The RS3 uses thicker wiring for the fuel pump, which is obviously for the increased current carrying capability required for the stronger RS3 pump. The plan at this point is to run the RS3 pump on the Golf R`s fuel pump supply cable and monitor the output under load.
The final cut!
The last modification that we need to make before the engine goes in is coincidentally in the engine bay. In the previous blog post I covered how VW have standardised the “MQB” chassis among all transverse engine mounted models. The engine and gearbox mounting system however, is different for each individual engine.
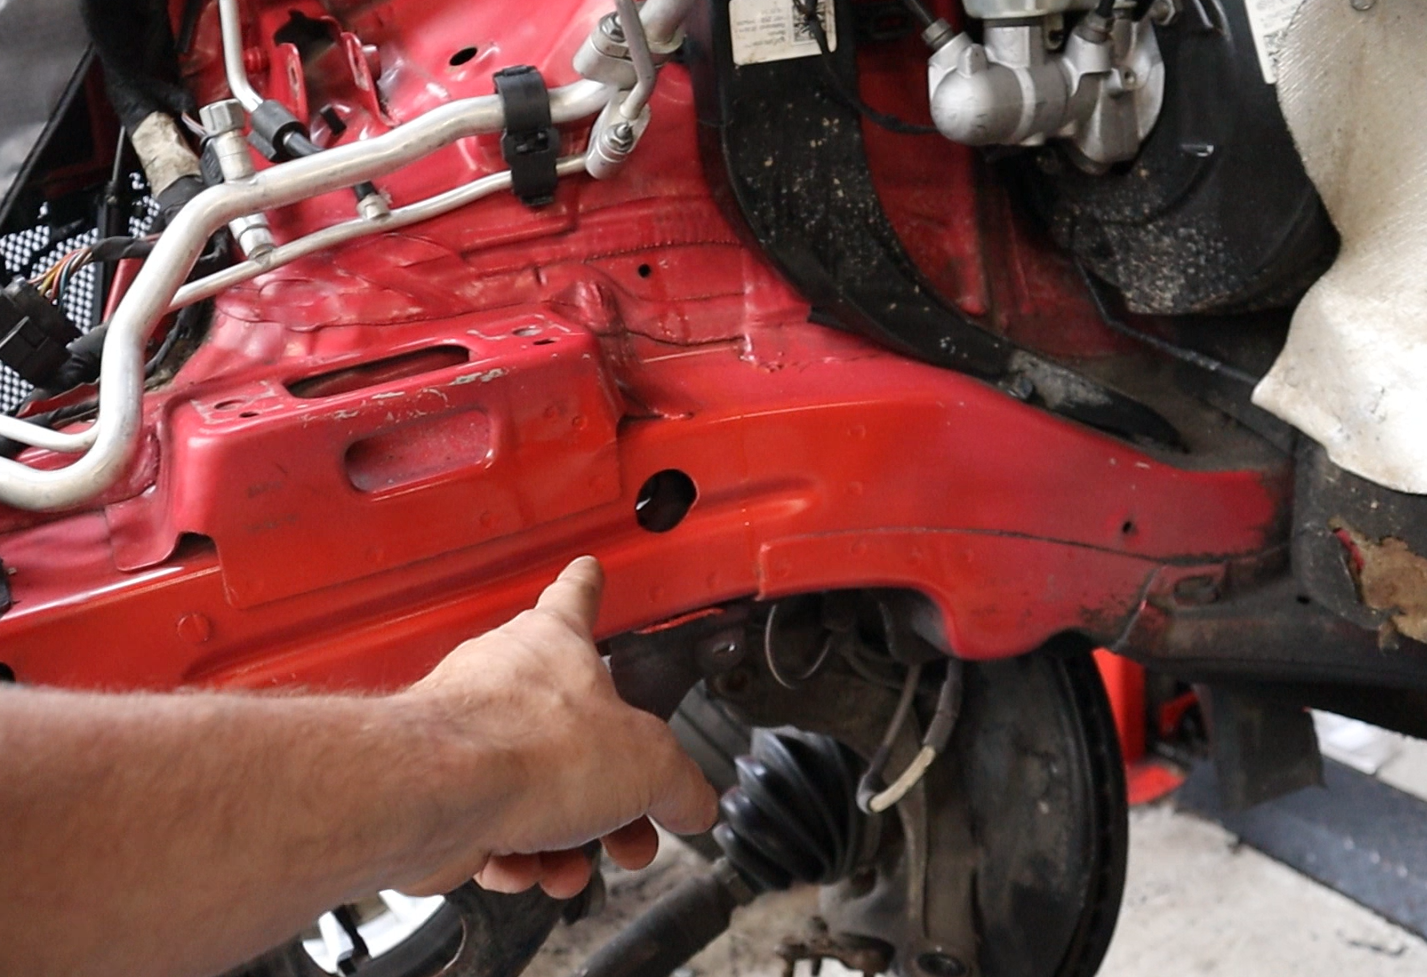
The RS3`s engine mounting bracket features a bolt which needs to be accessed through the chassis leg, from inside the wheel arch on the offside. The RS3 has a hole for this… The Golf does not. So with some careful measurement and a smidge of bravery, we got the hole saw out and cut the hole that we needed. My initial thoughts for this was to cut an oversize hole, sleeve it with some tube and weld that in to the chassis leg. It only takes some observation on an RS3 to see that this wasn’t deemed necessary from the team at Audi, so we used their judgement and copied how they did it. Just a simple hole drilled through the chassis leg. Job done!